Introduction
GitLab, easily recognized by the fox on its logo, is a platform that allows to host and manage almost all sorts of web projects. It is presented as the modern developper’s platform and offers many options to deal with all the codes sources.
In this article you will learn how to install and configure GitLab on a Debian 9 server, step by step.
Prerequisites
To follow this tutorial, you’ll need a recently installed Debian 9 server, a user with sudo permission, 8GB of memory, and it’s recommended a processor with 2 cores or above.
Step 1 - Login to your server via SSH
Use the following command to login to your server via SSH:
$ssh root@server_ip
Also check if your system package database is up to date before continue this tutorial.
Step 2 - Update the System
To update the system, just type:
$$apt update
apt upgrade
Step 3 - Create a System User
$$adduser gituser
usermod -aG sudo gituser
Step 4 - Start the Gitlab installation
$$$su gituser
cd
apt install ca-certificates curl
Step 5 - Add the GitLab package repository
As we’re installing GitLab Community Edition, you must add the package repository to proceed with the installation:
$$curl -LO https://packages.gitlab.com/install/repositories/gitlab/gitlab-ce/script.deb.sh
sudo bash script.deb.sh
Once the repository is added, use this command to install GitLab on Debian 9
$apt install gitlab-ce
After that, it is necessary to edit the gitlab.rb file, find external_url string and edit it to your server IP address or domain you want to use.
$nano /etc/gitlab/gitlab.rb
/etc/gitlab/gitlab.rb
##! For more details on configuring external_url see: ##! https://docs.gitlab.com/omnibus/settings/configuration.html#configuri... external_url 'https://example.com'
Save and close the file. Run the following command to reconfigure Gitlab:
$gitlab-ctl reconfigure
With these commands you have just given, the installation will start and take some minutes to conclude. This process also install nginx web server to run GitLab.
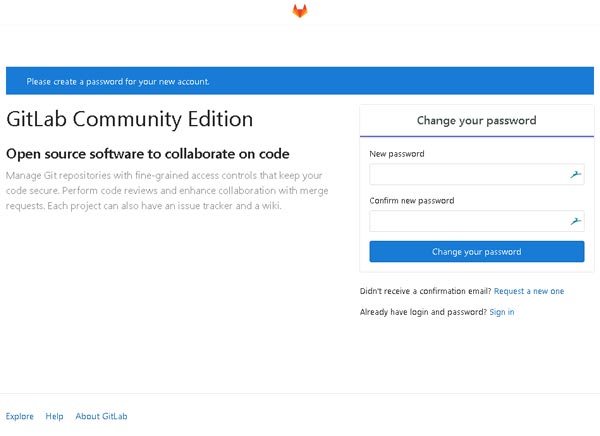
After the installation, use your web browser to access your server or IP (specified in external_url in /etc/gitlab/gitlab.rg) and create a new password.

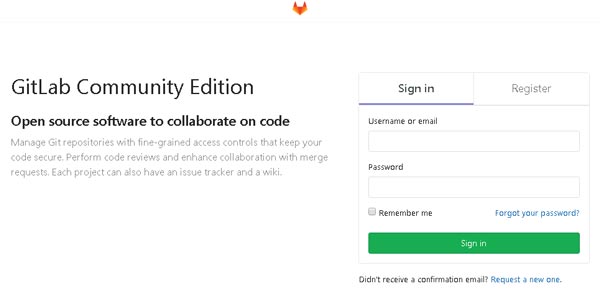
Now use the root user and the password you’ve just created to log in to GitLab.

To start, stop and give other commands to GitLab, use the command gitlab-ctl like in this example:
$sudo gitlab-ctl start
Step 6 - Email additional settings
If you want to send emails through SMTP rather than Sendmail, use the following commands to change:
gitlab_rails['smtp_enable'] = true
gitlab_rails['smtp_address'] = "smtp.gmail.com"
gitlab_rails['smtp_port'] = 587
gitlab_rails['smtp_user_name'] = "[email protected]"
gitlab_rails['smtp_password'] = "my-gmail-password"
gitlab_rails['smtp_domain'] = "smtp.gmail.com"
gitlab_rails['smtp_authentication'] = "login"
gitlab_rails['smtp_enable_starttls_auto'] = true
gitlab_rails['smtp_tls'] = false
gitlab_rails['smtp_openssl_verify_mode'] = 'peer' # Can be: 'none', 'peer', 'client_once', 'fail_if_no_peer_cert', see http://api.rubyonrails.org/classes/ActionMailer/Base.html
After just run:
$sudo gitlab-ctl reconfigure
How to Backup GitLab on Debian 9
Creating a Backup is something extremely important. So, what you have to do is type the following command:
$sudo gitlab-rake gitlab:backup:create
Also add this command to the cron job for data backup
0 3 * * 2-6 sudo gitlab-rake gitlab:backup:create
Now you have GitLab installed and running on your Debian 9 server. Good job!
If you have any question about how to install and setup GitLab on Debian 9, contact us in the comments.


0 COMMENTS